

The start of a tumultuous adventure
This tutorial will illustrate how to install Linux, Nginx, MySQL, PHP (LEMP) stack on debian-based Linux system.
Introduction
The LEMP software stack is a group of software that can be used to serve dynamic web pages and web applications written in PHP. This is an acronym that describes a Linux operating system, with an Nginx (pronounced like “Engine-X”) web server. The backend data is stored in the MySQL database and the dynamic processing is handled by PHP.
This guide demonstrates how to install a LEMP stack on an debian-based server. The debian operating system takes care of the first requirement. We will describe how to get the rest of the components up and running.
Steps
1. Install Nginx Web Server
In order to display web pages to our site visitors, we are going to employ Nginx, a high-performance web server. We’ll use the apt package manager to obtain this software.
Since this is our first time using apt for this session, start off by updating your server’s package index. Following that, you can use apt install to get Nginx installed, however, there have been multiple nginx packages, some lite or basic versions may only provide limited functions with the lack of other components such as the stream modules.
However, there have been multiple nginx packages, some lite or basic versions may only provide limited functions with the lack of other components such as the stream modules. So I would recommend you search for the nginx version with the fullest range of functions using the apt search function. Typically in debian we install nginx-extras for more modules to be utilized in the future whether by proxy protocols or web-services.
apt updateapt install nginx-extras
When prompted, enter Y to confirm that you want to install Nginx. Once the installation is finished, the Nginx web server will be active and running on your server.
You can test if the server is up and running by accessing your server’s domain name or public IP address in your web browser.
If you do not have a domain name pointed at your server and you do not know your server’s public IP address, you can find it by running the following command:
ip addr show eth0 | grep inet | awk '{ print $2; }' | sed 's/\/.*$//'
This will print out a few IP addresses. You can try each of them in turn in your web browser. Type the address that you receive in your web browser and it will take you to Nginx’s default landing page:
http://server_domain_or_IP
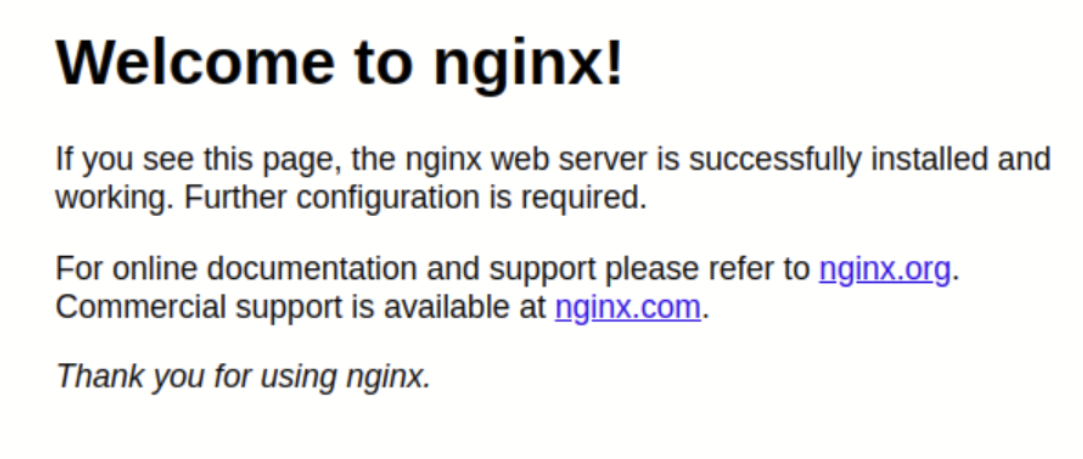 If you see this page, it means you have successfully installed Nginx and enabled HTTP traffic for your web server.
2. Install MySQL
Now that you have a web server up and running, you need to install the database system to be able to store and manage data for your site. MySQL is a popular database management system used within PHP environments.
Again, use apt to acquire and install this software:
apt install default-mysql-server
When prompted, confirm installation by typing Y, and then ENTER.
When the installation is finished, it’s recommended that you run a security script that comes pre-installed with MySQL. This script will remove some insecure default settings and lock down access to your database system. Start the interactive script by running:
mysql_secure_installation
This will ask if you want to configure the VALIDATE PASSWORD PLUGIN.
3. Install PHP
You have Nginx installed to serve your content and MySQL installed to store and manage your data. Now you can install PHP to process code and generate dynamic content for the web server.
While Apache embeds the PHP interpreter in each request, Nginx requires an external program to handle PHP processing and act as a bridge between the PHP interpreter itself and the web server. This allows for a better overall performance in most PHP-based websites, but it requires additional configuration. You’ll need to install php-fpm, which stands for “PHP fastCGI process manager”, and tell Nginx to pass PHP requests to this software for processing. Additionally, you’ll need php-mysql, a PHP module that allows PHP to communicate with MySQL-based databases. Core PHP packages will automatically be installed as dependencies.
To install the php-fpm and php-mysql packages, run:
apt install php8.2-fpm php8.2-mysql
When prompted, type Y and ENTER to confirm installation. You now have your PHP components installed. Next, you’ll configure Nginx to use them.
4. Configuring Nginx to Use the PHP Processor
Nginx has one server block enabled by default and is configured to serve documents out of a directory at /var/www/html. While this works well for a single site, it can become difficult to manage if you are hosting multiple sites. Instead of modifying /var/www/html, we’ll create a directory structure within /var/www for the your_domain website, leaving /var/www/html in place as the default directory to be served if a client request doesn’t match any other sites.
Create the root web directory for your_domain as follows:
mkdir /var/www/your_domain
Next, assign ownership of the directory with the $USER environment variable, which will reference your current system user:
chown -R $USER:$USER /var/www/your_domain
Then, open a new configuration file in Nginx’s sites-available directory using your preferred command-line editor. Here, we’ll use nano:
sudo nano /etc/nginx/sites-available/your_domain
This will create a new blank file. Paste in the following bare-bones configuration at /etc/nginx/sites-available/your_domain
server {
listen 80;
server_name your_domain www.your_domain;
root /var/www/your_domain;
index index.html index.htm index.php;
location / {
    try_files $uri $uri/ =404;
   }
location ~ \.php$ {
    include snippets/fastcgi-php.conf;
       fastcgi_pass unix:/var/run/php/php7.4-fpm.sock;
 }
location ~ /\.ht {
        deny all;
}
}
When you’re done editing, save and close the file. If you’re using nano, you can do so by typing CTRL+X and then y and ENTER to confirm.
Activate your configuration by linking to the config file from Nginx’s sites-enabled directory:
ln -s /etc/nginx/sites-available/your_domain /etc/nginx/sites-enabled/
Then, unlink the default configuration file from the /sites-enabled/ directory:
unlink /etc/nginx/sites-enabled/default
Note: to re-link the default configuration, you can do so by recreating the symbolic link, like this:
ln -s /etc/nginx/sites-available/default /etc/nginx/sites-enabled/
This will tell Nginx to use the configuration next time it is reloaded. You can test your configuration for syntax errors by typing:
nginx -t
If any errors are reported, go back to your configuration file to review its contents before continuing. When you are ready, reload Nginx to apply the changes:
systemctl reload nginx
Your new website is now active, but the web root /var/www/your_domain is still empty. Create an index.html file in that location so that we can test that your new server block works as expected:
nano /var/www/your_domain/index.html
include the following content in this file:
<html>
  <head>
    <title>your_domain website</title>
  </head>
  <body>
    <h1>Hello World!</h1>
<p>This is the landing page of <strong>your_domain</strong>.</p>
  </body>
</html>
Now go to your browser and access your server’s domain name or IP address, as listed within the server_name directive in your server block configuration file:
http://server_domain_or_IP
You’ll see a page like this:
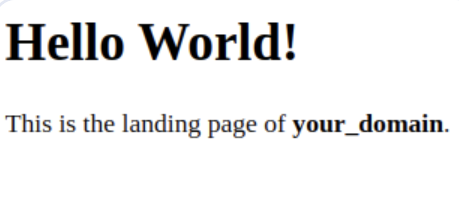
If you see this page, it means your Nginx server block is working as expected.
You can leave this file in place as a temporary landing page for your application until you set up an index.php file to replace it. Once you do that, remember to remove or rename the index.html file from your document root, as it would take precedence over an index.php file by default.
Your LEMP stack is now fully configured. In the next step, we’ll create a PHP script to test that Nginx is in fact able to handle .php files within your newly configured website.
5. Testing PHP with Nginx
Your LEMP stack should now be completely set up. You can test it to validate that Nginx can correctly hand .php files off to your PHP processor.
You can do this by creating a test PHP file in your document root. Open a new file called info.php within your document root in your text editor:
nano /var/www/your_domain/info.php
Type or paste the following lines into the new file. This is valid PHP code that will return information about your server:
<?php
phpinfo();
When you are finished, save and close the file by typing CTRL+X and then y and ENTER to confirm. You can now access this page in your web browser by visiting the domain name or public IP address you’ve set up in your Nginx configuration file, followed by /info.php:
http://server_domain_or_IP/info.php
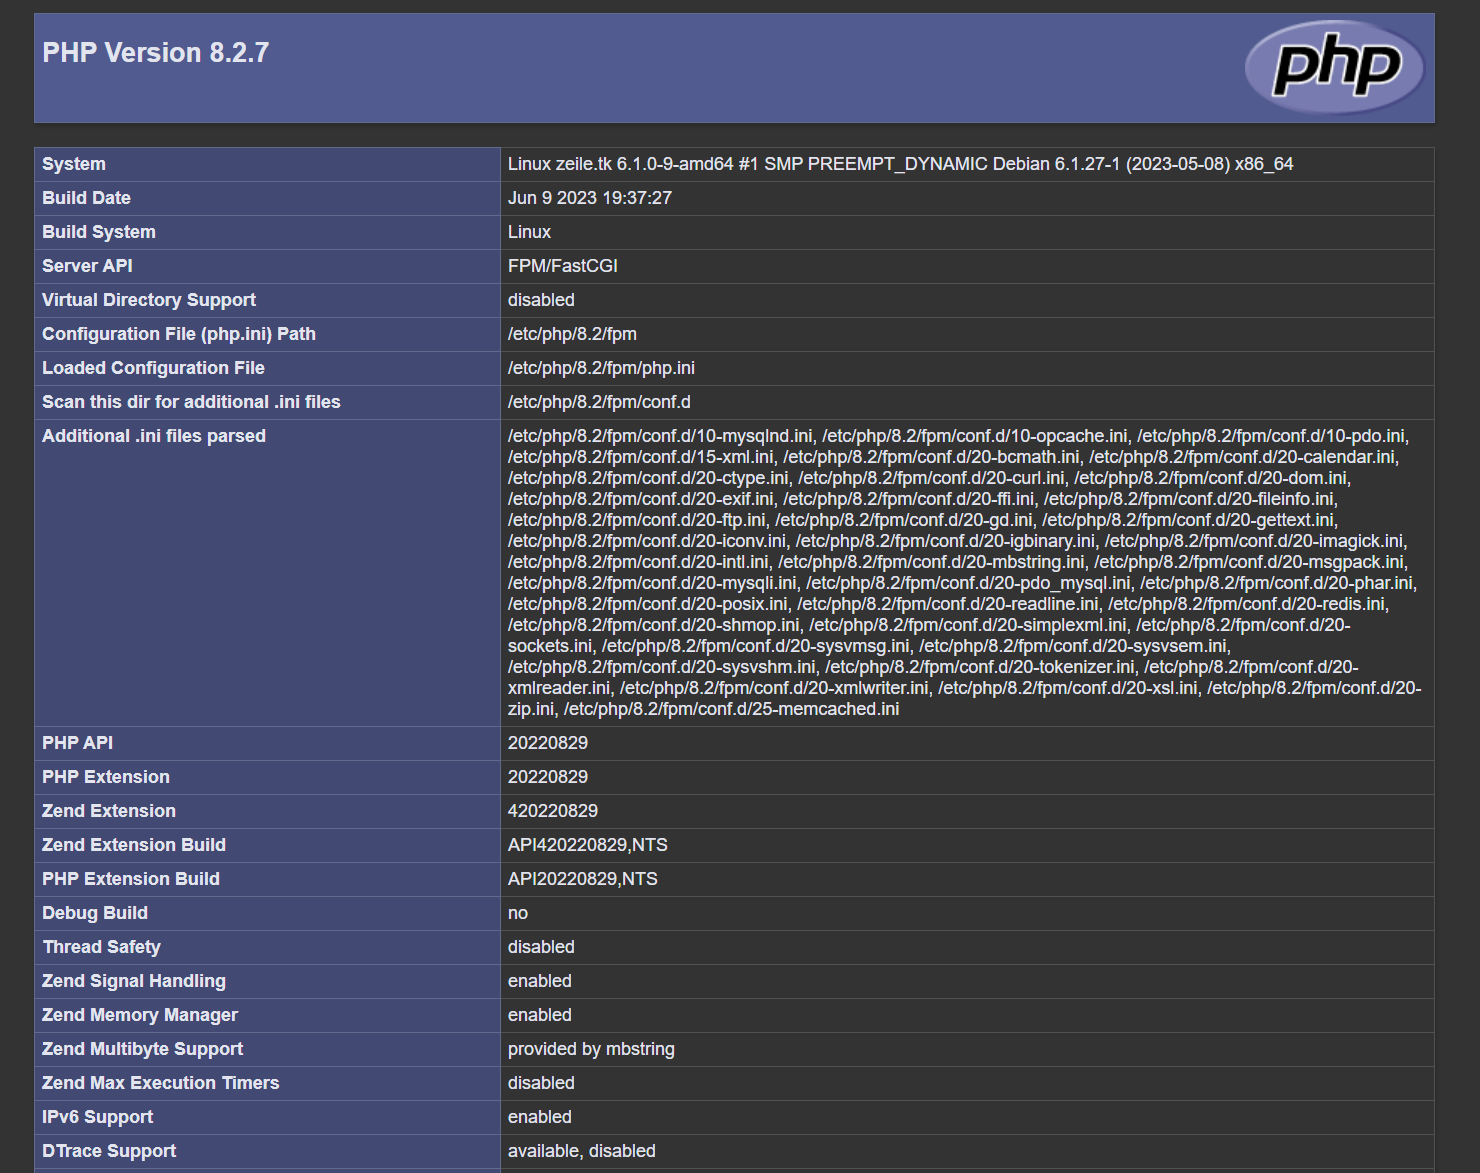
You will see a web page containing detailed information about your server:
After checking the relevant information about your PHP server through that page, it’s best to remove the file you created as it contains sensitive information about your PHP environment and your Ubuntu server. You can use rm to remove that file:
rm /var/www/your_domain/info.php
You can always regenerate this file if you need it later.
Comments NOTHING